My two main missions with any baby craft are to a) not make a ridiculous mess, and b) not poison the baby. Starting a baby with a crafty project comes with some limitations. Obviously I want to do what I can to prevent anything dangerous from going into her mouth (like everything seems to do lately), and should it accidentally get there, it can't be dangerous.
So this project is a perfect starter idea. I have seen variations of this craft across Pinterest, but here is my version. It is safe, mess free (yippee!) and you will even have your first piece of Fridge Art when it is completed.
Items you will need:
- non-toxic paint (I used primary colors and had white on hand for lightening up the different combinations)
- 1 gallon Ziploc freezer bag
- cardstock/paint paper (the thicker paper can handle the globs of paint better)
- that's it!
1. Put a "glob" (that's a technical term - perhaps poker-chip size) of each paint color on a different part of a piece of paper.
2. Carefully place the paper with paint inside the Ziploc bag. Seal the bag.
3. Start squishing away! Help you baby push and smear the paint all around, mixing the colors as you go. I spent a lot of time talking about each color and the colors that resulted from the mixing.
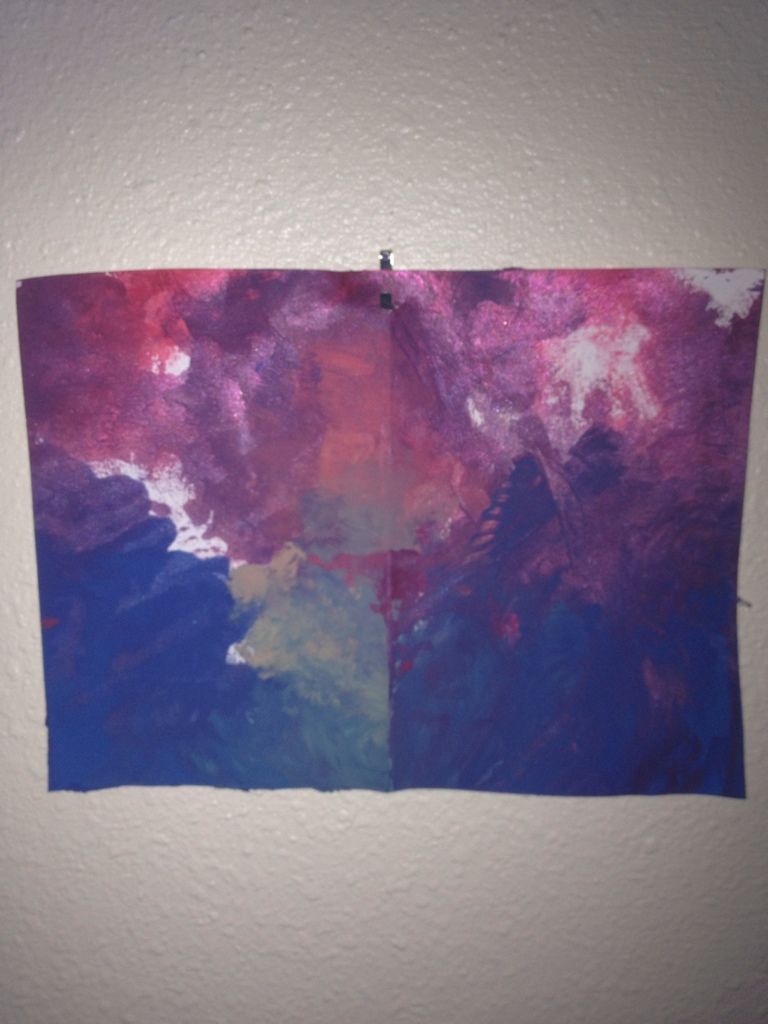 4. Once the fun is over, carefully remove the paper from the bag. Make sure you are out of the reach of your baby (mine wanted to help). Set the paper someplace safe to dry over a piece of newspaper. Once dry, hang that baby (the art, not the literal baby) on the fridge for prominent display!
For additional projects, use specific paint colors, and then cut shapes from the finished and dried paper. You can cut pieces to make flowers, frames, etc. - these are perfect for birthday cards for family or Father's Day gifts!
No comments:
Post a Comment