Showing posts with label inside. Show all posts

Sunday, February 16, 2014

Project: Homemade Valentine Picture Frame

I've been chomping at the bit waiting for Bugga to be old enough to do arts and crafts. Yes, I know, even babies can start pretty much from the womb with the art projects. We even tackled finger (body!) painting last year when Bugga was 10 months old; I'm sure many moms jump on it far earlier than that.

Another point to note: I am not a huge fan of messiness on purpose. Let's be honest, kids are a lot of work and mess without TRYING to make a mess. So painting with a toddler kind of scared me.

With Bella still so small at 7 weeks, she still hasn't had her vaccinations yet so we aren't leaving the house for much more than Bugga's once-a-week gymnastics class. And a bored kid is hard on everyone (all you parents on the East Coast know exactly what I'm talking about right now since you've all been stuck inside for days due to the snow with school cancelled). So I bit the bullet and pulled out the paint.

Grandma had gifted Bugga some fingerpaints and a smock for Christmas, so this was as good a time as any to try them out. Plus with Valentine's Day fast approaching Bugga could make a homemade gift for Daddy on behalf of her and her sister. I even managed to stretch this into a TWO DAY PROJECT which is always good.


So I dressed Bugga in clothes I don't like (we all get those gifts) and her new smock, and taped down some newspaper to our kitchen counter. She climbed up into her learning tower (best invention ever) and we proceeded to go to work. 

I squirted some of the paint into paper cups left over from her 1st birthday (we are slowly and finally getting through those) in Valentine colors. Since the Crayola Fingerpaints only come in red, blue, yellow, and green I had to incorporate some white from my collection to make pink. Oh, and trying to make purple with the red and the blue was a bust so nevermind that. 

I used several sponge brushes (yep, still not in the mood to handle more painting with our hands) I had left over from another project of mine, and we went to work.

I purchased a simple wood heart frame from Michael's for barely $1.00 and Bugga had a blast painting it with the various colors. 

She also seemed to love the different effects she could make with the brushes, taking advantage of the sponginess (huh, that's actually a word). 

Once she was done we let it dry overnight. in the meantime, the other colors had grabbed her attention so I found some paper and let her create another masterpiece. 


She had a blast and it wasn't too difficult to clean up. 

Oh, and meanwhile, the baby hung out in the bouncer next to us and watched.


The next day I pulled out a bag of foam heart stickers and the frame so we could decorate. Bugga quickly figured out how to use her fingernails to peel of the backings, and we were in business. I had a giant flat foam heart she could also decorate as well.


Seriously, she decorated this all by herself with no guidance from me whatsoever. Such style.

And here is the final result, all ready for Daddy!

Friday, September 6, 2013

Magnetic Board Options

After my recent project creating Fabric Alphabet Magnets for my daughter, I of course needed to find a magnetic space for her to use her new magnets.

I saw this great idea on Pinterest to use an inexpensive oil drip pan that can be purchased for a low price at a local Home Depot or Lowe's. Perfect.

Except apparently in Canada they don't believe in these particular style of oil drip pans, so I hit a dead end immediately.

Then I thought, well, I'll just get a board cut to my specifications, and then use a couple various products on the market (specifically Chalk Board Paint and Magnetic Paint) and make my daughter her own customized chalkboard-magnet-board combo space. Genius.

Thankfully I did a little online researching before investing in any of the supplies needed. I found this and this which taught me two things: 1) There is a certain guy posting on every internet thread about his magnetic paint additive that is overall a pretty grouchy guy, and 2) Magnetic paint is a waste of time and energy.

OK so now what? I could buy a kid-specific magnetic board, but I really wanted something BIG and most kid magnetic boards I could find are somewhat teeny.

In the end, I went with a magnetic dry erase board (Michael's, ~$20). I will be no means be giving my 21-month-old dry erase markers anytime soon, but it works great as a clean magnetic space for her new magnets, and down the road she'll have fun with the markers.

Wednesday, February 27, 2013

Activity: Mirror, Mirror

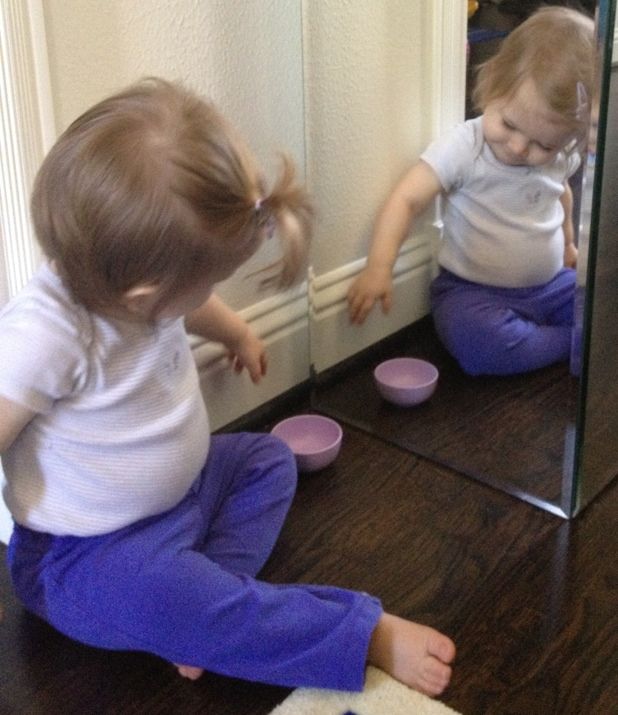
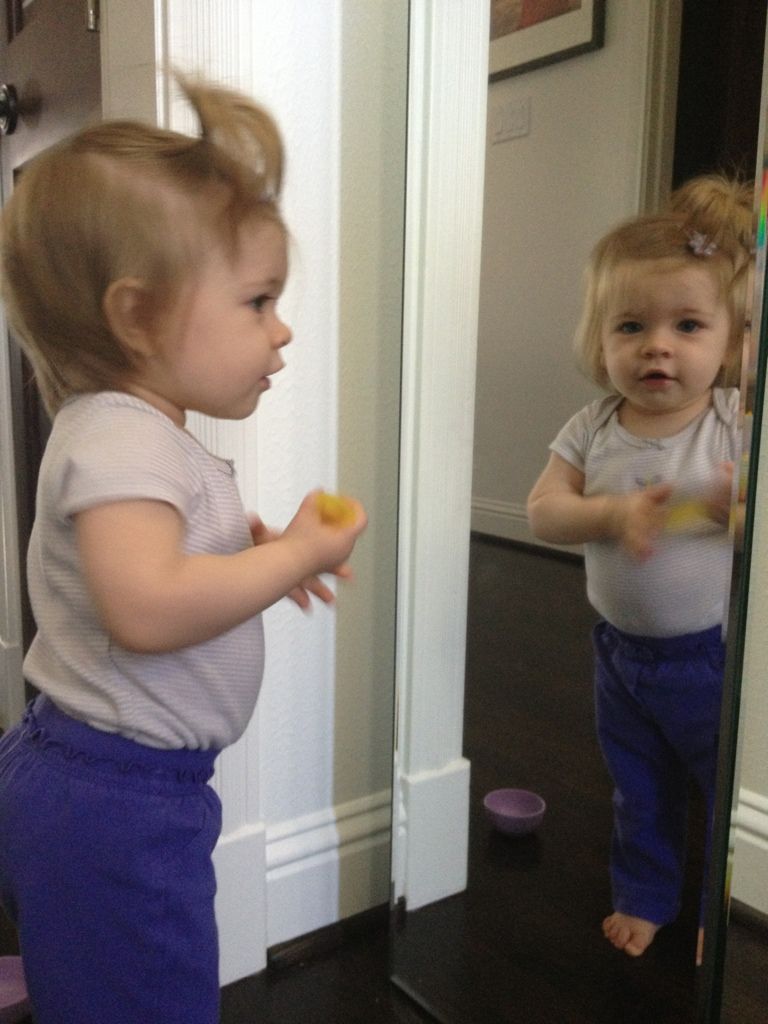
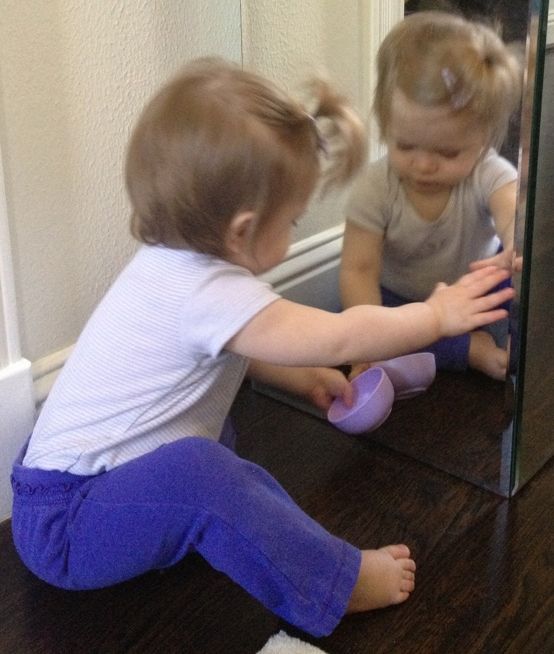
We have interacted with mirrors for months and months, starting with the bathroom mirror during bath time when Bugga was still using the baby bathtub. She had a great time making faces in the mirror.

Since we are in a new house, we have been decorating some of the rooms we didn't have before, and I keep finding new ways to entertain my toddler with things related to the new decor. Yesterday's was no different. We have two giant (and heavy, so they aren't going anywhere) mirrored stands in our front hall.

Bugga and I spent some time hanging out in front of them on accident during playtime, and she quickly discovered how much fun that kiddo is in the mirror. I'm not sure she truly realized that there are not two of us, since she kept looking around the corner for Mommy #2.

She had a blast sitting next to "Bugga #2" and talking to her, sharing her toys - and failing at trying to steal her playmate's toys (maybe this might teach a lesson??), and other fun. The two even had a dance party with some fast stepping moves.

I shared the fun with my husband and he was quick to suggest that Bugga give her new friend a high five, which she did - and this person NEVER misses on high five! Perfect!

Tuesday, February 26, 2013

Activity: Bubble Wrap

I am a closet "green" person hiding inside a parent's body. What I mean by that is before I became a mom, I cringed at the concept of waste and excess. However, since birthing my daughter I have at times let a lot of things go (we use a LOT of baby wipes in this house) and had to cope with the ridiculous amounts of product packaging that now enter our house wrapped children's goods.

I recently purchased a giant vase that the store wrapped in matching giant bubble wrap so I could get it home safely. Not the throw-in-your-recycling-bin kind that Crate & Barrel would give you (darn right I provided that link - they have great stuff and you can recycle ALL of their shipping materials), but the awful landfill-clogging kind.

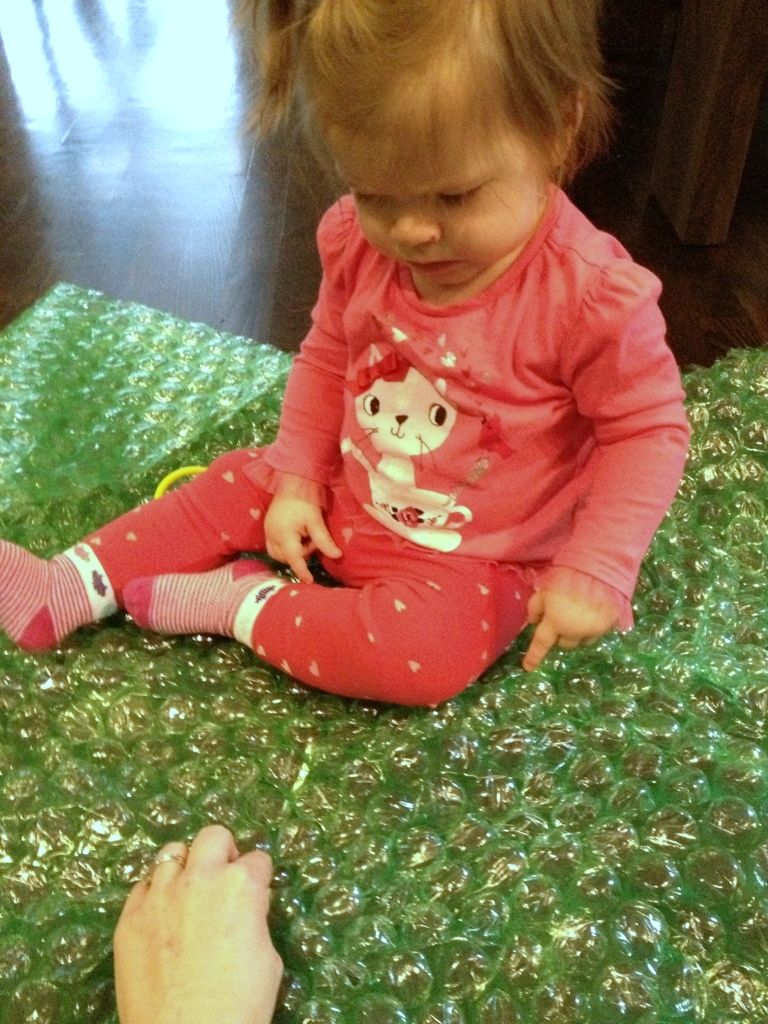
So we were at least going to use it again after my vase safely made it to my house. Enter my toddler!!

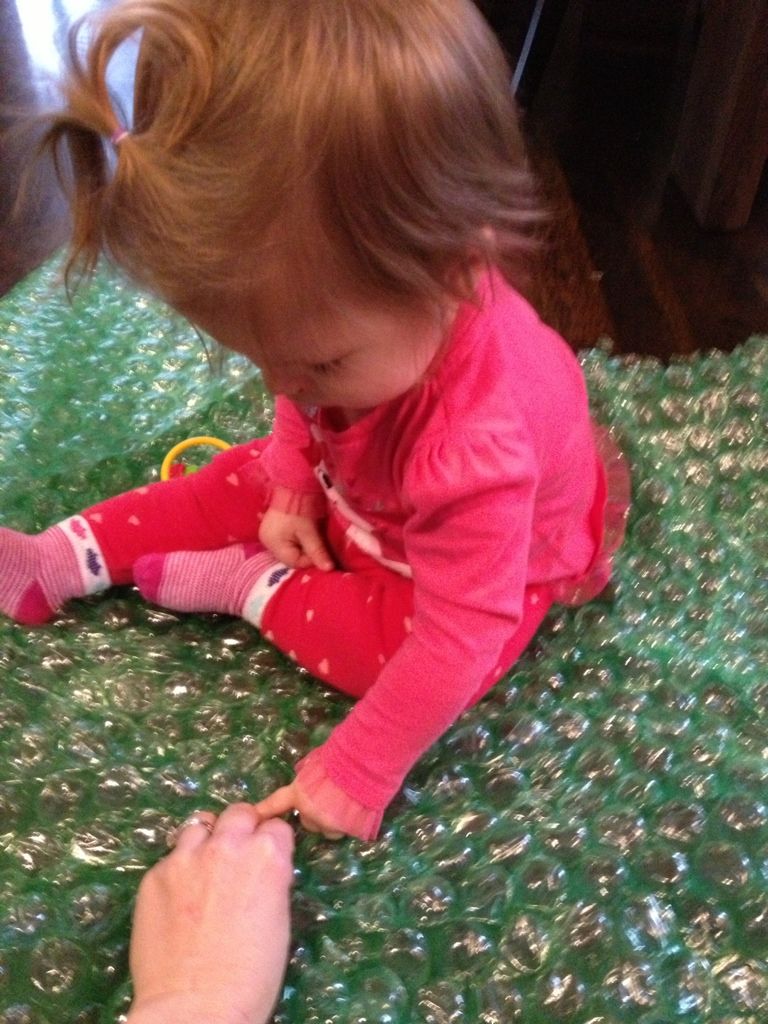
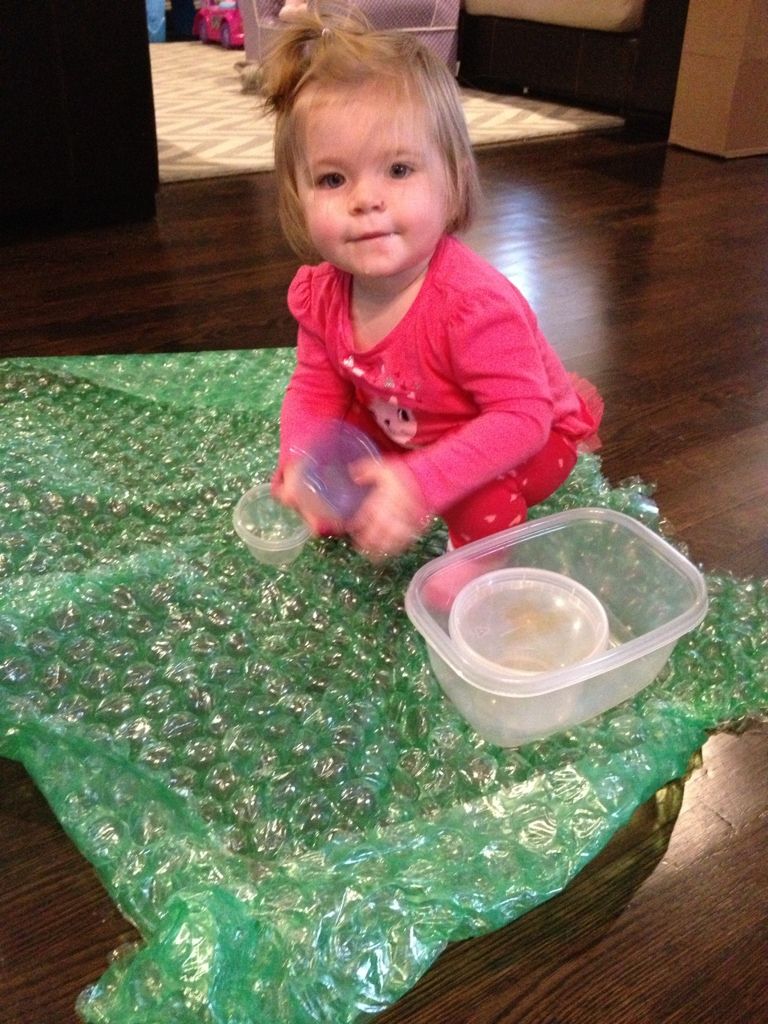
Once she figured out where the crazy popping noise was coming from, she was hooked. Her little fingers and lack of upper body strength prevented her from being able to pop each bubble on her own, but that didn't stop her from trying. She was fascinated with touching each one as I popped it for her. And then she quickly ran away so she could bring back some of her little dishes, and before I knew it we were having a bubble wrap picnic. And her little heels and tailbone would surprise us here and there by popping bubbles on their own, which made her giggle. 

Anything to make my kid giggle!

Obviously, this is a supervised activity - but have fun with it if you have some bubble wrap crammed in a corner somewhere!

Monday, February 4, 2013

Activity: Stacking Cups

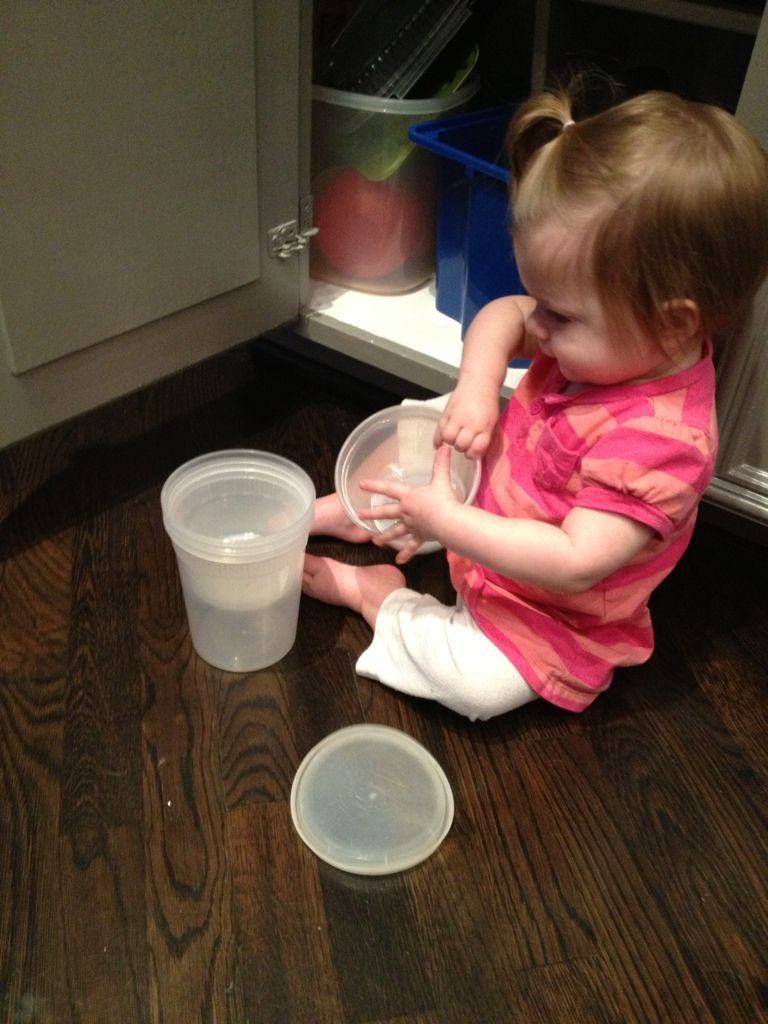
My 14-month-old daughter is currently fascinated with containers, and things that she can put in them, while just as fast taking them right out. So we found a great way to make more fun with this.

Of course I spend a lot of my day in the kitchen, whether cooking and prepping meals, cleaning up the results, or racking my brain (seriously just had to look up whether 'racking' or 'wracking' is appropriate here and apparently the jury is still out) trying to come up with some food ideas my picky-ish toddler will tolerate. So Bugga spends a lot of time at my feet, and I wanted her to be entertained so I could still be productive.

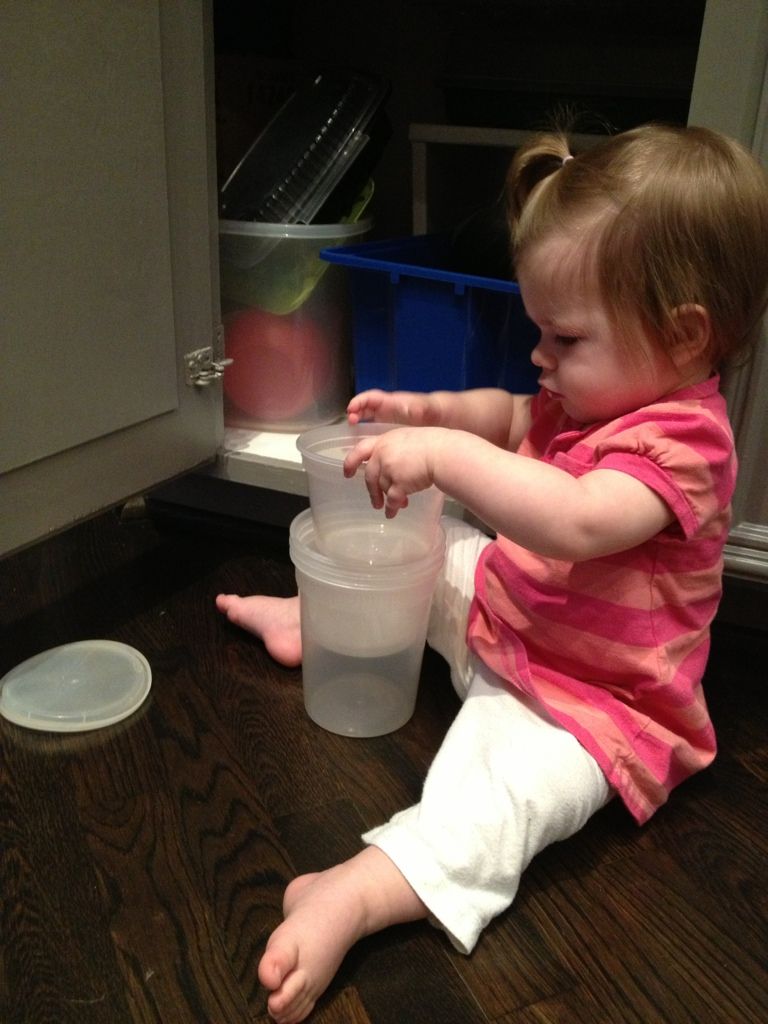
I designated two lower cabinets to my less-valuable storage containers, all plastic. All other cabinets are of course locked (and she is fascinated by the locks, by the way, but anyway...), but these two contain two large blue tubs of fun. Though it's no Tupperware, the little plastic bowls you get with your Chinese takeout have made for the most fun. I somehow have an assortment of sizes and they all fit perfectly inside each other in any order.

Bugga loves to take these containers, fill them with her little toys, and then stack them up. Then she takes them apart, drags them to the living room, stacks them up again, and puts more toys in them. Then back to the kitchen for the game to begin again. She loves it, and I'm glad that she gets to practice her dexterity, her spacial reasoning, and will even listen to directions if I ask her to "please put that bowl back in the blue bin" or whatever.

I can't wait until she's big enough to help me mix ingredients!

Monday, January 28, 2013

Activity: Baby Safe Finger Painting


Finger painting is a great way for kiddos to learn about textures, colors and their creativity. We tried this when my daughter was just around 10 months, so every activity had to be baby-safe. With regards to an activity like painting, this meant that anything she could possible put in her mouth would not hurt her.

Here is an "edible" fingerpaint recipe that I found online and decided to try. The quotes are because it only uses ingredients that are safe to digest, but I avoided any sets of instructions that included sugar - the last thing I want to do is encourage Bugga to eat the paint. I can only imagine that retraining I will have to do down the road when she's older! So this is safe to eat, but certainly not tasty.

Ingredients:
2 cups of cornstarch
1 cup of cold water
4.5 cups of hot water
Food coloring

Instructions:
Mix the cornstarch and cold water together, then add the hot water, constantly stirring the mixture. Separate mixture into smaller containers. Add food coloring as desired and mix thoroughly.

Some comments: OK, I'll admit my knowledge of cornstarch is pretty limited. So stirring this mixture was kind of fun - it acted like flour, but then all of a sudden it became this wild translucent gel-like goo. The colors came out a lot brighter then I expected once mixed. As far as using this for painting...because it is a gel-like consistency, it doesn't paint like regular paint, but it still works for this activity. It's probably also good to know that it will dry pretty thick on the paper you use, and in our case at least, the painting cracked and wasn't really something to save in Bugga's brand new art archive.

The Actual Painting Part
If older children are doing this activity, you can easily incorporate brushes, but for us, it was not question that we would be using our fingers (and feet and elbows and behinds...you get the idea).

I cut open a kitchen trash bag so I could cover as much space as possible. Then I used packing tape to tape the trash bag to my floors. I don't recommend doing this over carpet - anything that somehow gets off the trash bag might be difficult to get out of carpet (but I'm sure it's possible...I just have no advice on this!).

Then I grabbed a couple pieces of paper, the paints, and my child and started experimenting! 


She was definitely hesitant at first trying to figure out what this colorful stuff was, and what she could do with it. And oh yes, a couple handfuls went into her mouth. But it was also a great teaching opportunity for me to say, "Hey, that's not food!" and teach her not to put it in her mouth and instead, put it on the paper. We had a great time!

Here's something that was somewhat important: as expected, this makes a MESS. I kept a roll of paper towels and a wet washcloth very close to this activity. I recommend either clothes that are colorful and/or old, or just a diaper-only situation. And of course, she went straight into the bathtub once we were done.


Thursday, September 20, 2012

Project: Rainbow Rice


I have recently learned about the fantastic concept of sensory boxes. These are portable boxes filled with all sorts of random things that help babies and toddlers learn about colors, shapes, textures and other random details about the world around them.

A great way to introduce the sensory box is essentially by building an indoor sandbox.  As we are still living in Alaska until November before we move back to Texas, anything we can do indoors is a bonus!

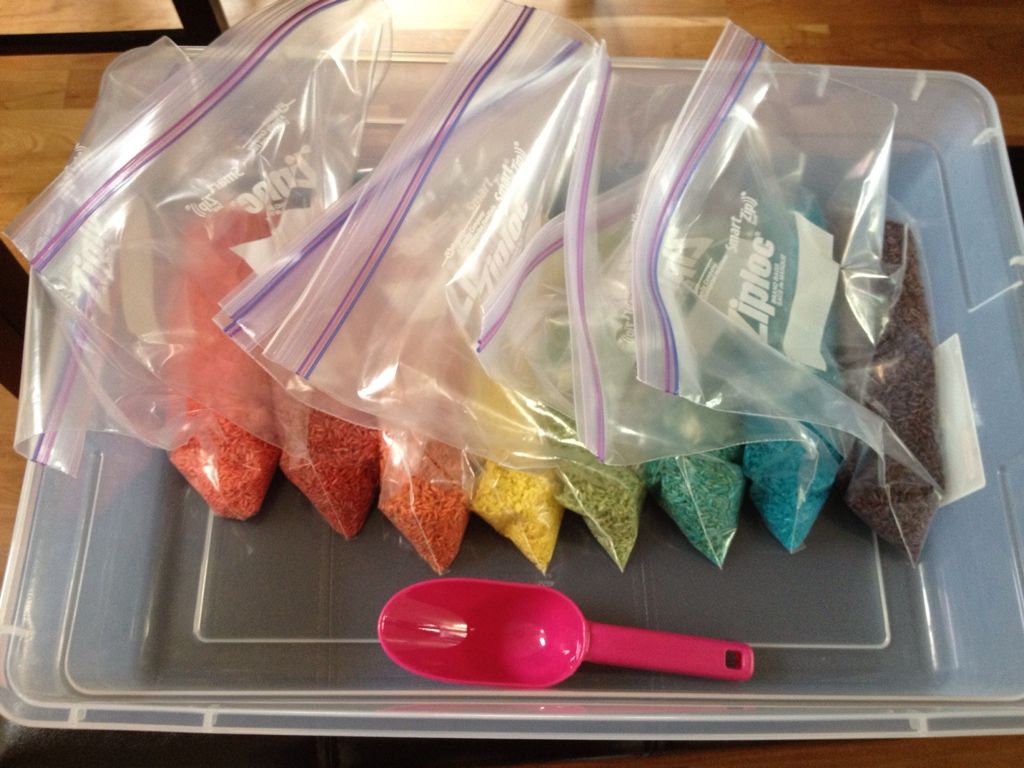
There are many things you can use as the sand. I am starting with Rainbow Rice! Across Pinterest (and the rest of the internet, I'm assuming ha) there are various ways to make this rice. The instructions below are my version, as I wanted to make sure that should any of this rice make its way into the baby's mouth, it would not be toxic.

Items you will need:
  • several bags of white rice (I used 8 bags which turned out to be plenty. Oh, by the way, I actually bought 4 bags of brown rice first, thinking if I never got to the project that at least I could cook with the rice since I prefer brown. Then I bought 4 white bags. The white definitely allows the colors to be brighter, but the brown does take the color differently so you have more color options.)
  • food coloring (I used the gels)
  • dark-colored mixing bowl (just in case!)
  • spoon
  • water
  • baking sheets
  • paper towels
  • ziplock bags for storage (I used one per color)

Instructions:

  1. Add several drops of one color to your mixing bowl. Add about 4 Tablespoons of water and mix well with your spoon. The more color you use the brighter/darker the rice will be, so feel free to experiment.
  2. Once the color is mixed to your satisfaction, add a bag of rice. Mix thoroughly until the color is evenly distributed and all the rice has been colored.
  3. Lay a paper towel down on a baking sheet. Pour the rice onto the paper towel and use the spoon to spread it as flat as possible to dry. Drying time is pretty quick - I let each color sit for about 20-30 minutes. Your rice might get hard and crunchy, and even stick as it dries. Just use your spoon to break it up again.
  4. Once the rice is dry, pour into a ziplock bag to store/transport. You might need some extra hands to keep the rice from getting everywhere as you pour (I used a big pot and sat the bag in it.)
  5. Repeat with the rest of your rice until you have the amount you want.
  6. Use your rice! This stuff is great for sensory boxes, arts & craft projects - you can even just eat* it to make for a fun meal! Have fun!

*If you are planning to eat this rice, please use my instructions versus some other web recipes. I have seen some direct you to use rubbing alcohol when coloring the rice and that is obviously dangerous to consume!

And as a final comment, I saw that rice hit the news today as having trace amounts of arsenic in most brands, which is obviously not good. Authorities are recommending that everyone limit feeding their babies rice to one time a week. One more reason to avoid eating it and instead use it for crafts!

Monday, September 17, 2012

Activity: Baby's First Painting

As an arts and crafts fanatic, I have been eagerly awaiting the time when my daughter is old enough to understand being crafty and how much fun it can be. WELL apparently 8 months is that age!

My two main missions with any baby craft are to a) not make a ridiculous mess, and b) not poison the baby. Starting a baby with a crafty project comes with some limitations. Obviously I want to do what I can to prevent anything dangerous from going into her mouth (like everything seems to do lately), and should it accidentally get there, it can't be dangerous.

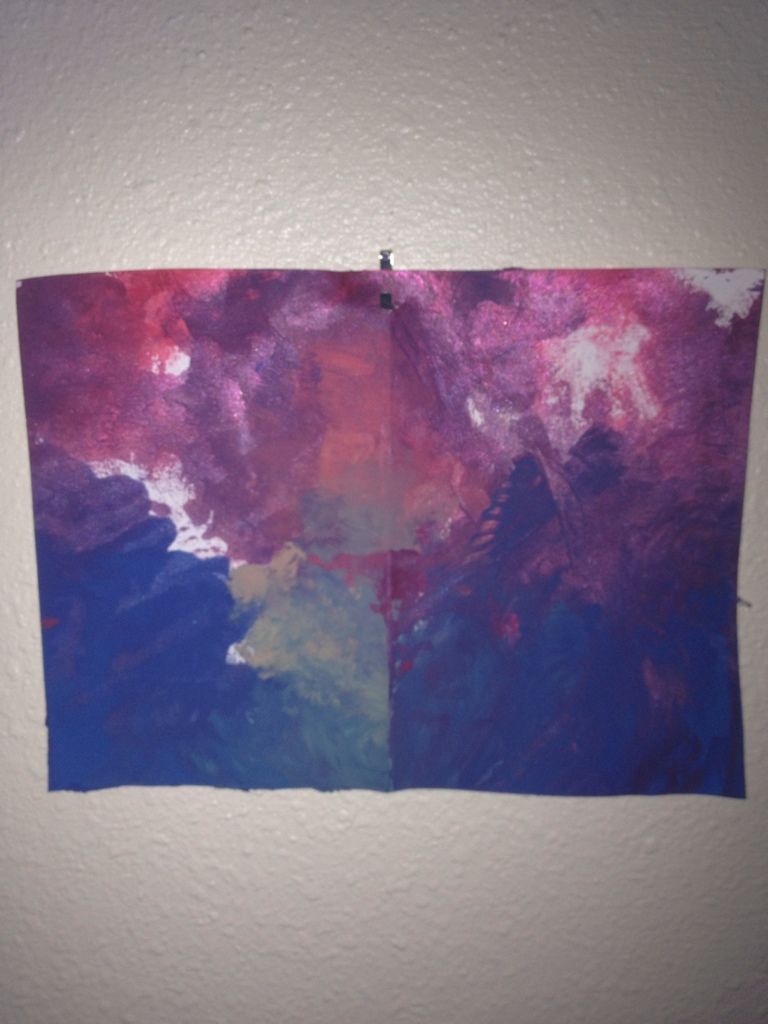
So this project is a perfect starter idea. I have seen variations of this craft across Pinterest, but here is my version. It is safe, mess free (yippee!) and you will even have your first piece of Fridge Art when it is completed.

Items you will need:
  • non-toxic paint (I used primary colors and had white on hand for lightening up the different combinations)
  • 1 gallon Ziploc freezer bag
  • cardstock/paint paper (the thicker paper can handle the globs of paint better)
  • that's it!
1. Put a "glob" (that's a technical term - perhaps poker-chip size) of each paint color on a different part of a piece of paper.

2. Carefully place the paper with paint inside the Ziploc bag. Seal the bag.

3. Start squishing away! Help you baby push and smear the paint all around, mixing the colors as you go. I spent a lot of time talking about each color and the colors that resulted from the mixing.

4. Once the fun is over, carefully remove the paper from the bag. Make sure you are out of the reach of your baby (mine wanted to help). Set the paper someplace safe to dry over a piece of newspaper. Once dry, hang that baby (the art, not the literal baby) on the fridge for prominent display!

For additional projects, use specific paint colors, and then cut shapes from the finished and dried paper. You can cut pieces to make flowers, frames, etc. - these are perfect for birthday cards for family or Father's Day gifts!